Version history
No version history is currently published on this page.

Distribute vegetation and objects with density, scale, rotation and variation controls.
No version history is currently published on this page.
Product demo
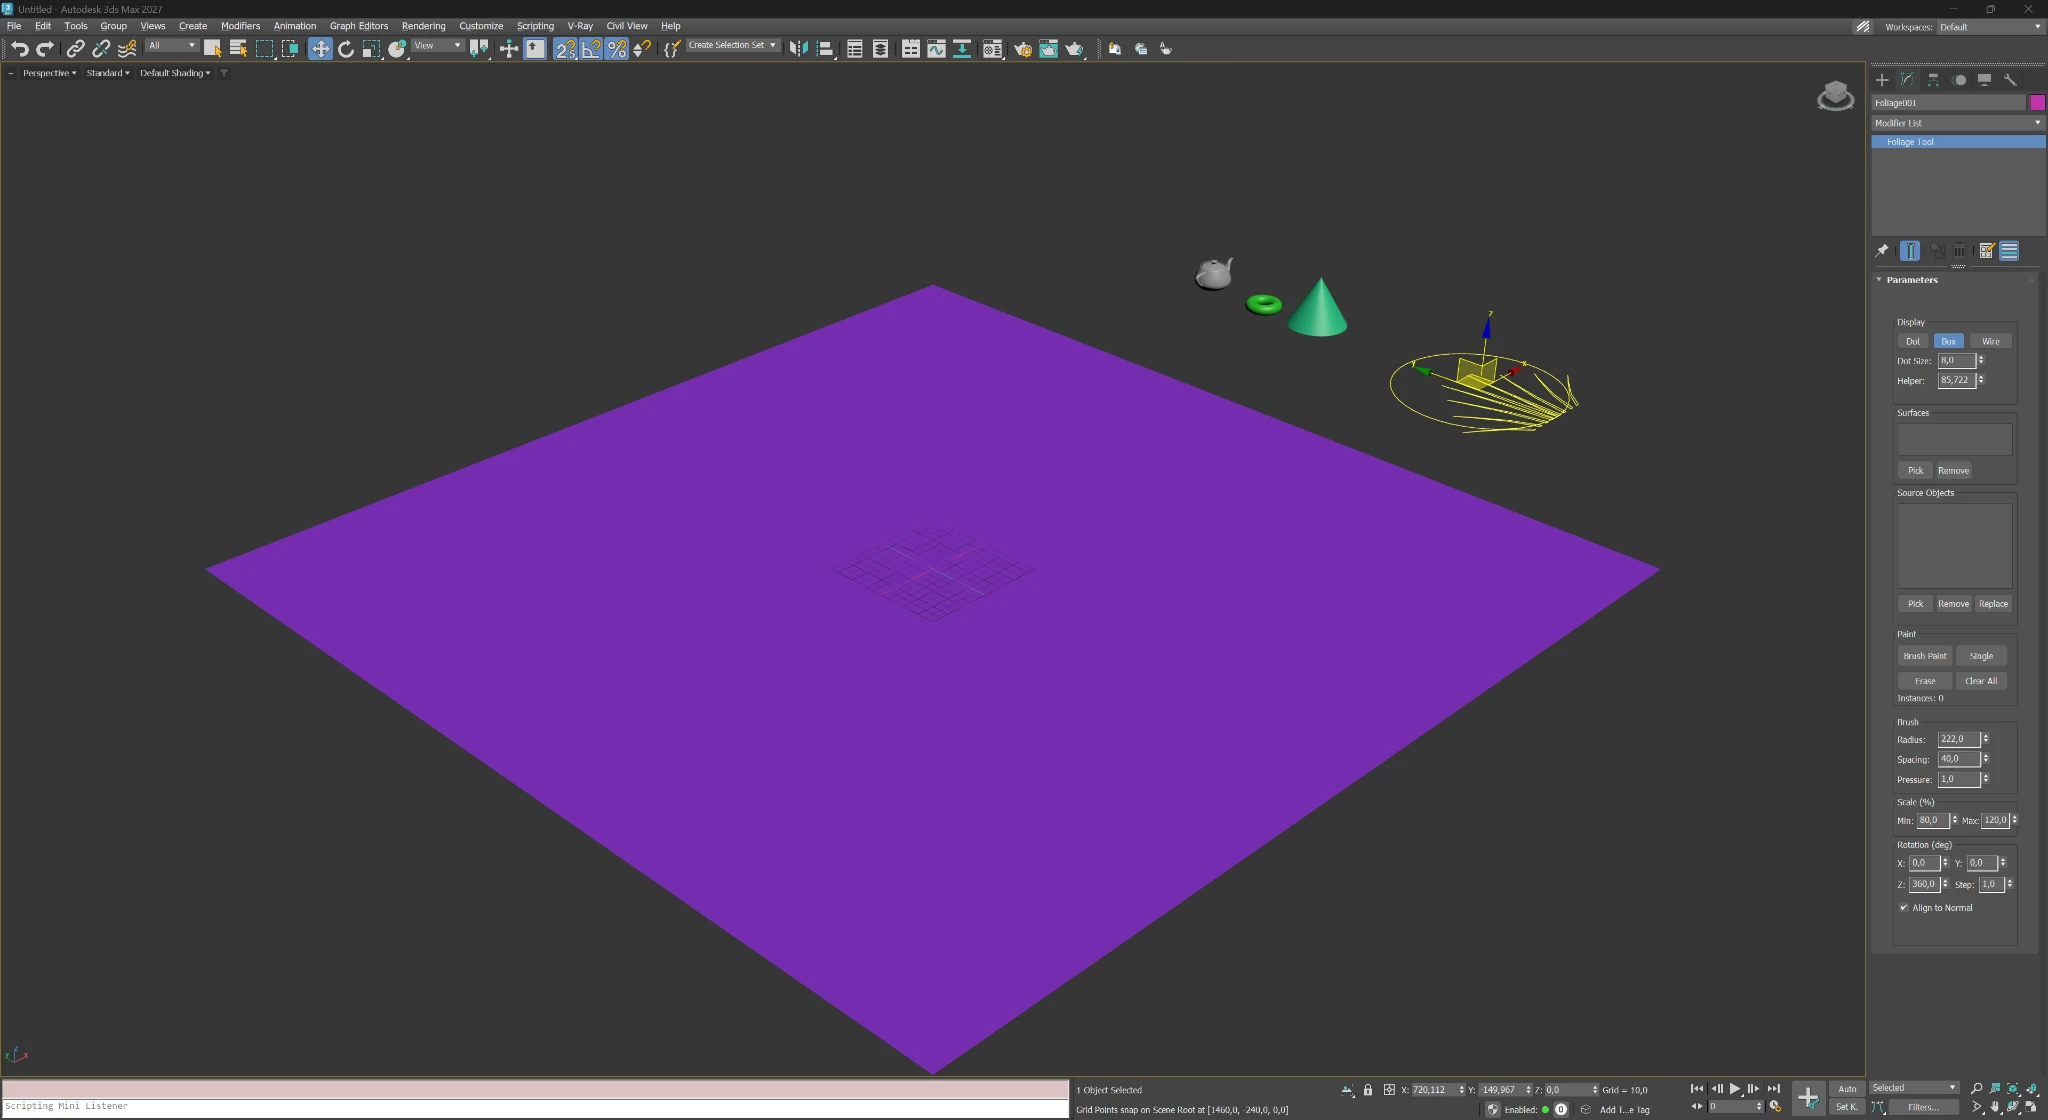
This demo shows the real interface and the actual setup flow: create the helper, add surfaces and source objects, paint in the viewport and reach a render-ready result without manual copy-paste.
See the complete workflow in motion.
01
Create one Foliage Tool object and keep all core controls in a single panel.
02
Pick the receiving surface once and paint directly where the objects should appear.
03
Mix multiple source objects with randomized scale and rotation for a less repetitive look.
04
Display modes like Dot and Box help keep the scene workable even when scattering many instances.
Step-by-step workflow
The page follows the actual usage order so a first-time visitor immediately understands what the plugin does and how to start using it.
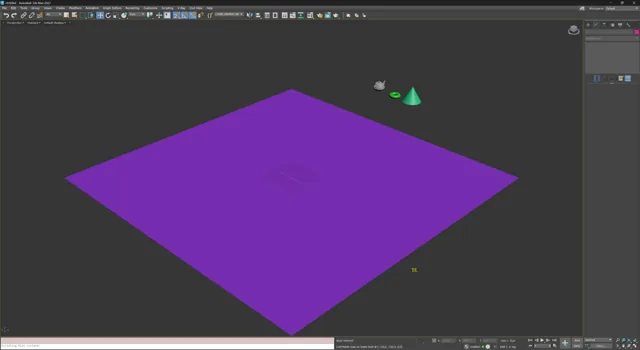
01
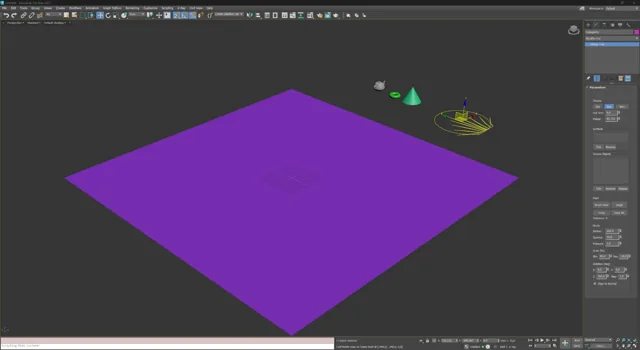
Prepare the terrain, floor plane or any other surface that should receive the scattered objects.
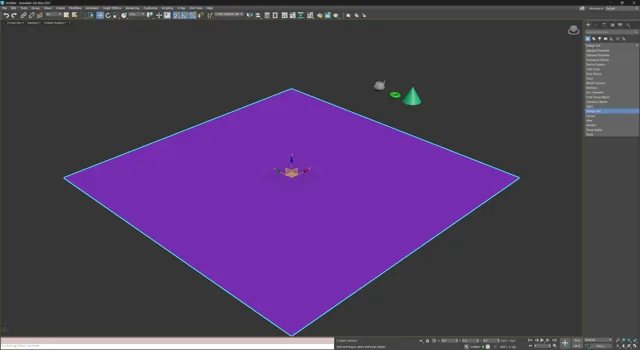
02
Choose Foliage Tool in the Create panel and place the helper in the scene like any standard 3ds Max object.
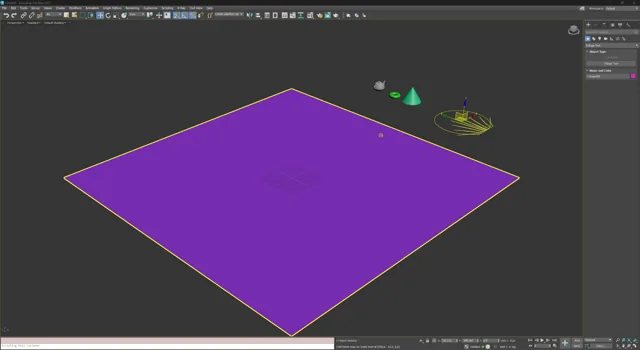
03
Once created, the helper gives you a brush-based gizmo that becomes the center of the scattering workflow.
04
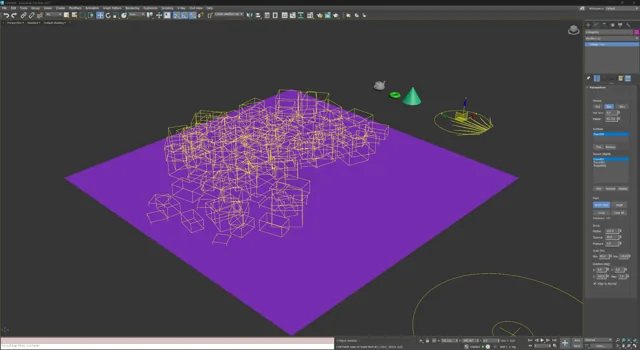
Assign one or more target surfaces, then add your source objects. Set brush radius, spacing, pressure, scale and rotation in one panel.
05
Use Brush Paint to scatter, Single for precise placement and Erase to carve out paths and clean zones. Lightweight display keeps the viewport responsive.
06
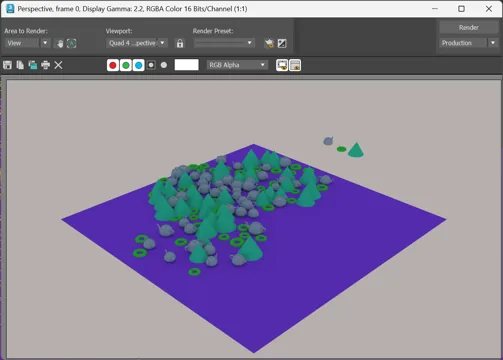
The scattered setup is ready for rendering with your preferred renderer — ideal for landscape visualization, exterior scenes and decorative site coverage.
Core controls
FoliageTool is strongest when the interface stays simple: target surfaces, source objects, paint modes, density and randomization controls are all available in one place.
01
Pick one or several receiving surfaces, then add multiple source objects for richer visual variation.
02
Use Dot, Box or Wire display when painting heavier scenes, then switch to a fuller preview closer to the final result.
03
Brush Paint covers large areas quickly, Single places one object per click and Erase removes scattered elements.
04
These three values define painting area, minimum distance between instances and overall density.
05
Set min/max scale and rotation ranges across X, Y and Z to reduce repetition and add controlled chaos.
06
Keep trees and grass vertical, or align objects to surface normals when scattering across slopes, walls or irregular terrain.
07
For a target object with a Multi/Sub-Object material, select the Material ID (MatID) to paint on. Only faces with that MatID receive objects; faces with other IDs are ignored.
08
Alt + Mouse Wheel changes the brush size, while Shift + Mouse Wheel reduces brush softness. Hold Shift and click two points with LMB to place objects along a straight line between them, as in Photoshop.
Where it helps most
The plugin is not limited to trees and shrubs. Any repeating object that should be distributed fast and naturally can be managed with the same workflow.
Licensing
After payment the license appears in your account. Activate online through the website or offline by e-mail for air-gapped workstations.